Scene filter branch
Last updated on 03/04/2024
Scene Filter Branch
Personalization with Filters:
Personalization using Filters involves four steps:
Create labels: Start by establishing Scene Labels for your campaign. For instance, if you're selling shoes, labels might include running, tennis, basketball, and golf shoes.
Get user preferences: Design a Scene where you use Select Actions to ask users about their shoe preferences. For instance, you could ask, “Which type of shoes are you interested in?” Ensure the options match the labels you’ve created (e.g., running shoes, tennis shoes).
Label subsequent scenes: Apply these labels to scenes that feature content relevant to each label. For example, scenes showcasing running shoes should be labeled “running shoes,” while scenes about tennis shoes should be labeled “tennis shoes.” Not every scene needs a label.
Use filter branch: In the Scene where you gather user preferences, set up a Filter Branch. For each preference option (e.g., running shoes, tennis shoes), configure the branch to direct users to scenes with the corresponding label that matches their choice.
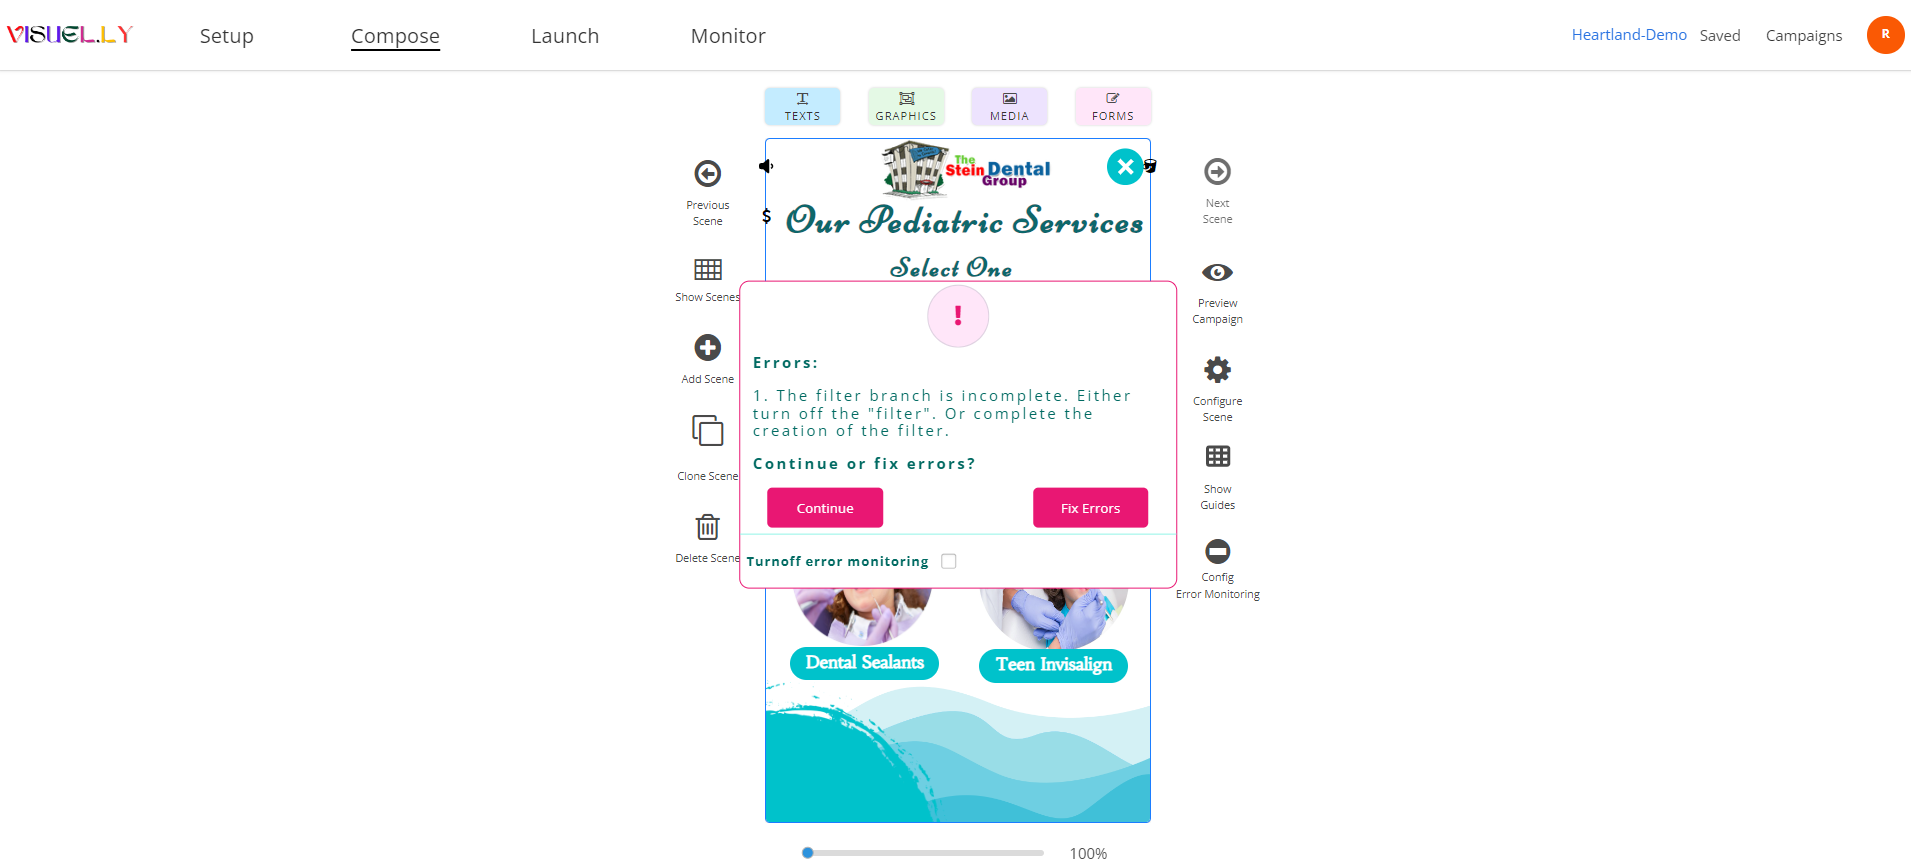
In Step 4, ensure that every Select Action on the Scene is linked to a corresponding label. Failure to do so will result in an error warning, as demonstrated below.


